Including hardware in the design of your front panel opens up some attractive possibilities. If you have ever glanced through the online catalog of Penn Engineering & Manufacturing you’ve seen the vast selection of studs, standoffs, clinch nuts, lock nuts, pins, and fasteners available. Choosing the right panel hardware can seem like a daunting task, but we are here to help you.
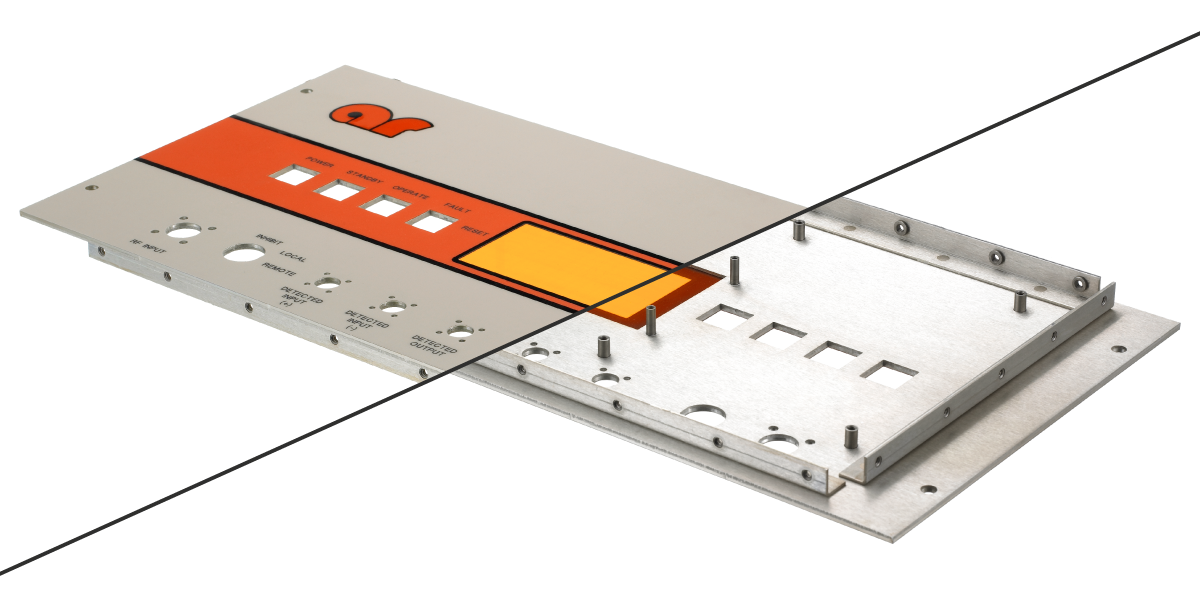
The installation of the right hardware can allow you to attach a component like a digital readout, dial, or PCB. Inserting hardware can drastically increase the functionality and flexibility of a panel.
Let us provide you with some added knowledge from our years of panel manufacturing experience.
Hardware VS Tapping
Attaching components to panels usually means using the mechanical advantage of threading to secure the two parts. A steel nut or standoff in the panel will be far stronger than tapping the relatively soft aluminum panel to thread directly into it. Choosing hardware over tapping is usually best.
Hide the Hardware
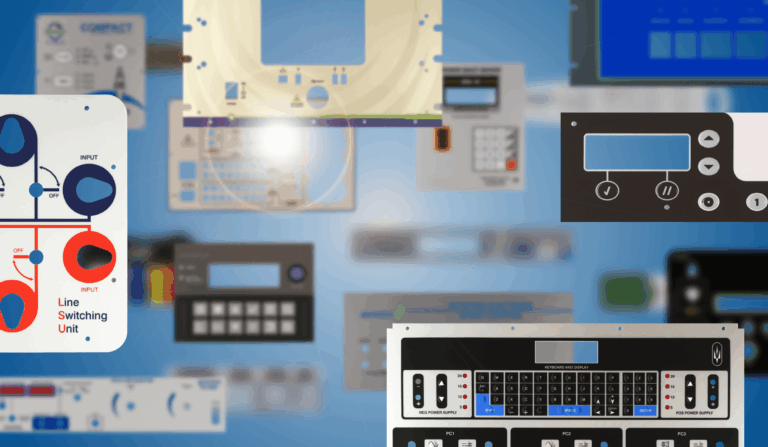
Applying a printed graphic overlay to the face of the panel makes it possible to cover the surface of the panel, including the top surface of the head of the inserted hardware. Doing this cleans up the look of the front panel considerably and makes more room for graphics that might be needed.

Choosing the Correct Panel Hardware
It can help to have a 3D program like Solidworks or Fusion 360 to visualize an assembly and determine the exact piece of hardware, but it’s not absolutely necessary if you can answer a few specific questions.
Good Questions to Ask
What is the right length for the hardware I need in my panel?
The manufacturer’s stated lengths include the entire piece of hardware, not the protruding length once installed. For example, an inch-long stud installed in a .125” thick panel will only protrude .875”. In this case, installing a 1.125″ long piece of hardware will provide 1.000″ of protrusion.
Consider the following dimensions when determining the length of your hardware…
- The thickness of the panel it is mounted in.
- The thickness of the component’s casing material or the distance the component creates between the back of the panel and the securing point.
- Any washers that will be included in the buildup.
- The thickness of the securing hardware (nut or screw).
How do I choose the correct threads?
Do you need a #2-56 or a #4-40 thread? Or perhaps a #6-32? The first detail to consider is whether you are in control of the receiving thread. If you can choose both the female and male threads then you can choose whatever hardware you need. But if someone else has already determined one, then they have already made the choice for you.
Another detail to consider is how much “wiggle” your component can tolerate. If the gage of the thread you specify is significantly thinner than the component’s mounting holes then you may end up with more play than you were expecting.
Final Tips for Choosing Panel Hardware
Maybe some of these thoughts will apply to your hardware choices…
- Know your component! This will inform most of your decisions when choosing hardware.
- If necessary, choosing longer studs is usually safer than choosing shorter.
- Our 3-dimensional machining capabilities can also help you achieve more specific hardware lengths by lowering the mounting surface of your panel.
- Mechanical press-fit hardware inserted in thru-holes will have far superior strength and torque ratings than hardware that is glued or mounted into blind holes.


